Gold leaf and gilding have been around since the Egyptians built the pyramids. Not hard to see why as gilt frames fit effortlessly into both traditional and contemporary interiors schemes.
We thought we’d give you a glimpse behind the scenes at Omelo as we put together one of our own gilt-framed mirrors.
Step 1. Preparation is key
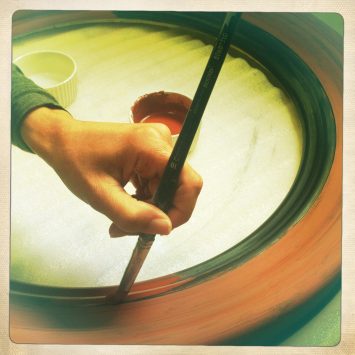
The colour bole (clay) used to prime the frame surface will determine the overall appearance of the finished product as it acts as an undertone to the leaf. For example, a red colour beneath gold will give a warm, rich finish.
We apply several layers of red bole to our chosen frame…
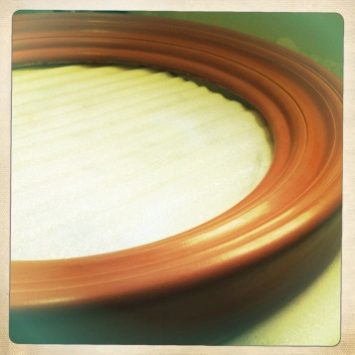 …and then polish it. It is on this smooth surface that the gold leaf is laid, either by water or by oil gilding.
Step 2. Apply adhesive size
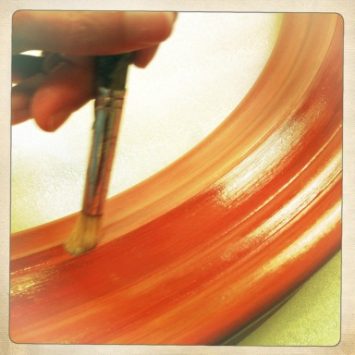 We apply the chosen adhesive size to the frame in thin, even coats. The size will dry to a ‘tack’ and it is then ready to receive the leaf.
Step 3. Applying the leaf
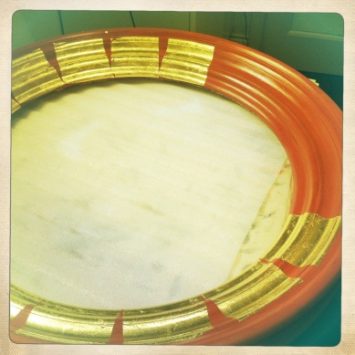 The leaf is applied via transfer or using a gilders tip, ensuring to tamp the leaf into the intricate areas of the frame.
After all the leaf is laid, the frame is left for a few hours to allow the size to dry out beneath the leaf.Watch Full Movie Online Streaming Online and Download
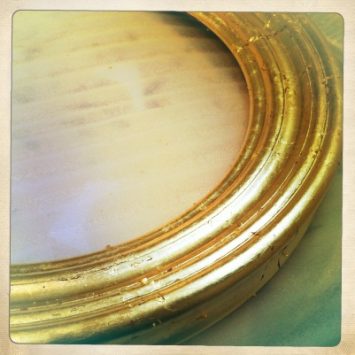
We then brush away all the loose skewings (odd bits of leaf that are attached on the overlaps) which can be seen in the image to the left.
If there are any gaps in the leaf, these can be touched up using the skewings.
Step 4. Finishing
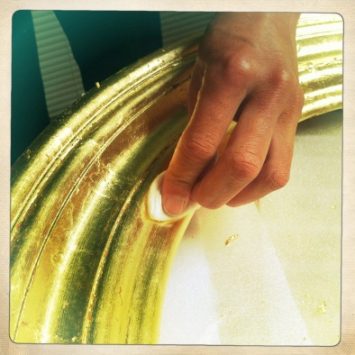 Finally, the frame is lightly burnished (or to be less technical, rubbed) all over.
We only use genuine gold leaf, 22ct and above, so the frame doesn’t need to be sealed, as it won’t oxidise.
Step 5. The finished piece
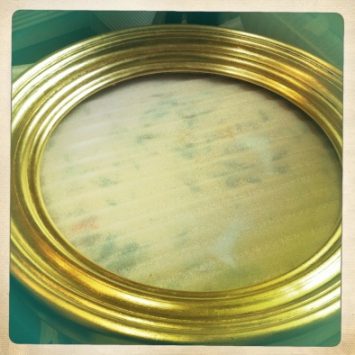 Ta da!
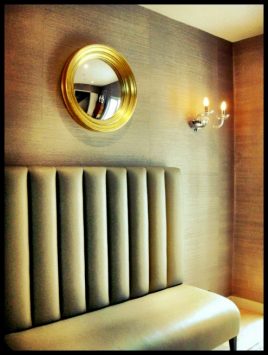 And here it is in its rather swanky new abode… (interior scheme by